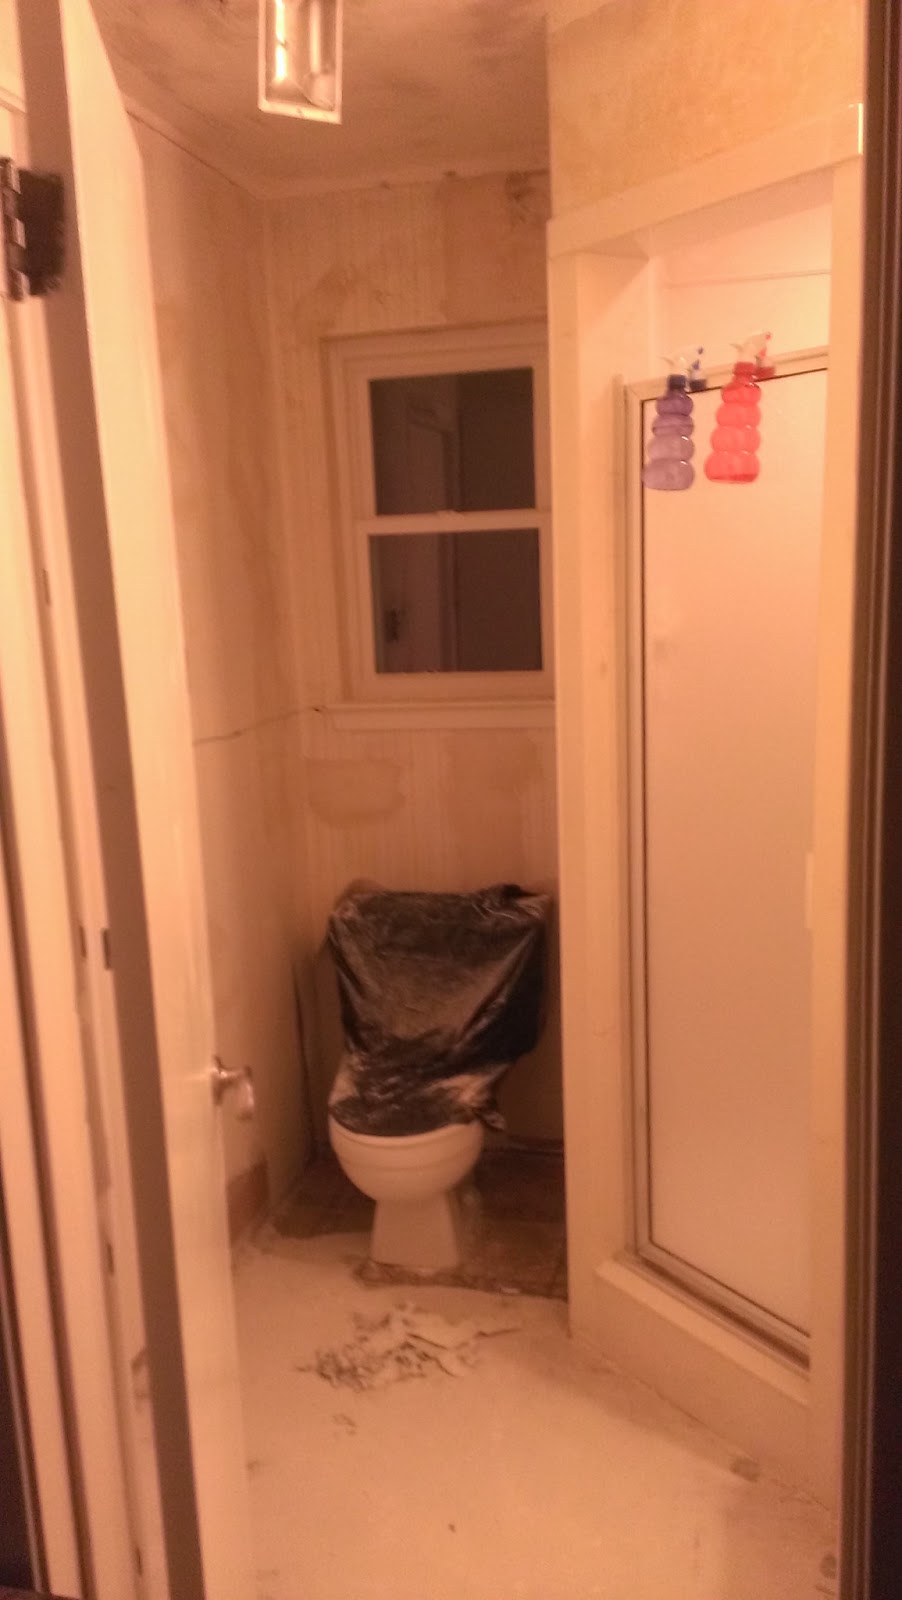
All of our bathrooms needed some major updating, but because the guest bathroom is the one that is most frequently used, that's the one we decided to start with. It is hard to see in pictures, but the wallpaper is textured beige with specks of blue and pink. It was dingy and peeling and the whole bathroom was so BEIGE that it felt dark and dirty even with the lights on in there. The popcorn ceiling had seen better days, but overall the entire bathroom wasn't completely terrible and we were planning to wait a while to do it. However, my sister came up for my birthday weekend and the next thing I know I was calling my husband and asking just how mad he would be if we had hypothetically removed the wallpaper and starting pulling up the vinyl floor. He was hypothetically not pleased. It took several weekends and evenings of hard work, but we are finally DONE! Because we are trying to do the whole Dave Ramsey thing and pay off debt, we tried to keep the costs down as much as possible by keeping the existing fixtures and furniture and reusing accessories I had either in the bathroom or elsewhere in the house. We are also big fans of shopping at the Habitat for Humanity Restore here in Waco - it's hit-or-miss sometimes with what they have in stock, but we have scored some great deals from there.
 |
| The lovely "tile" floor is actually sheet lineoleum. |
 |
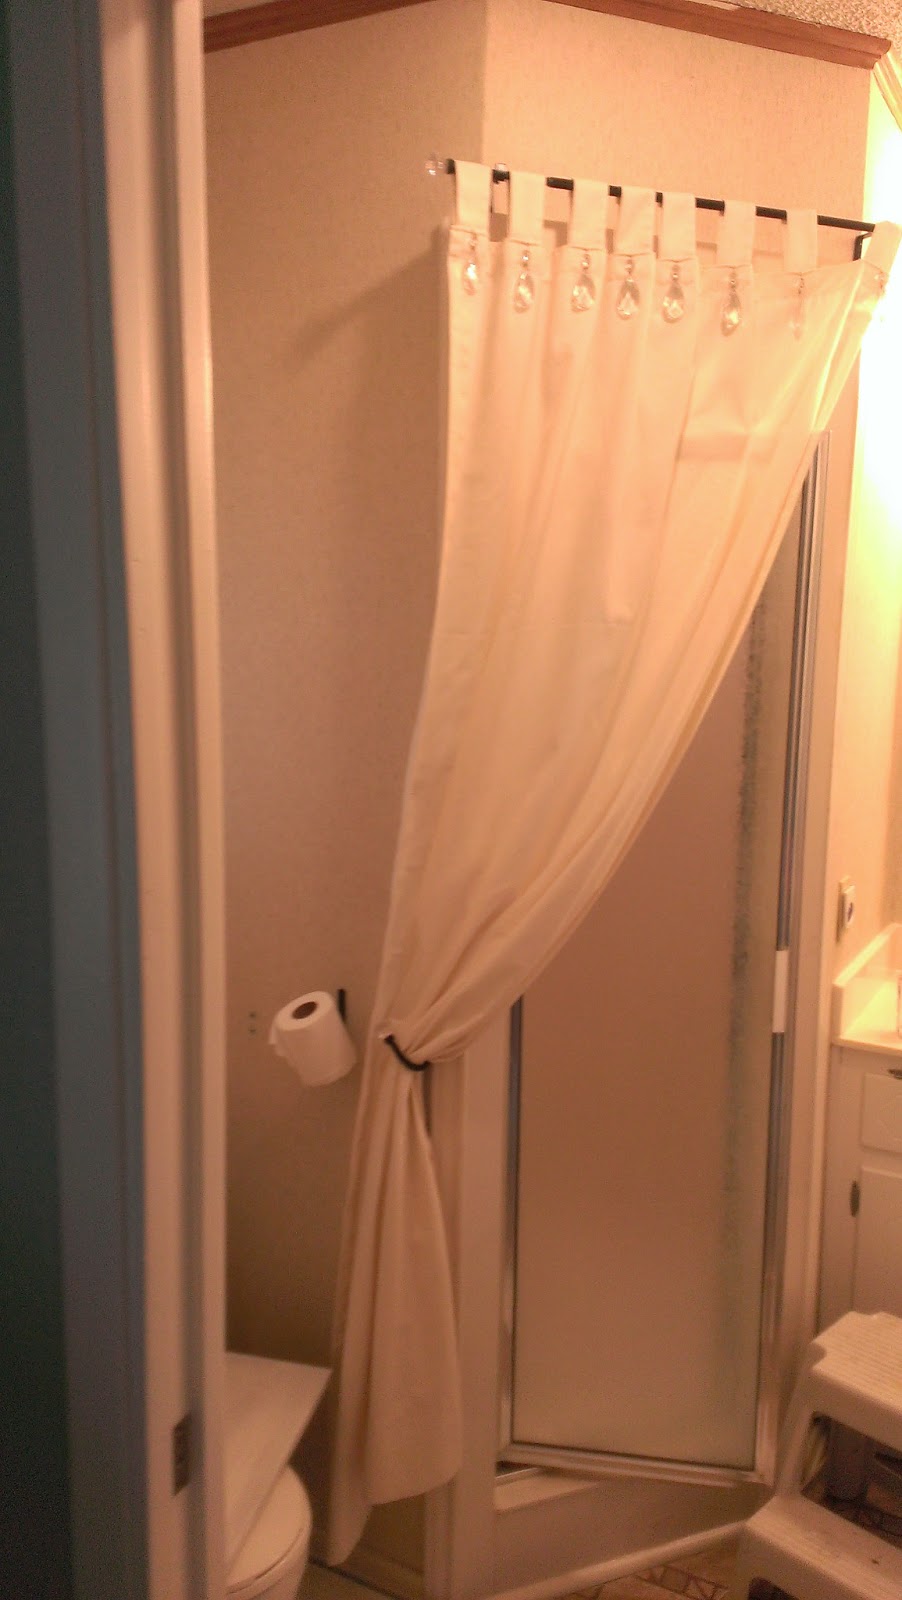
| I previously added a curtain to try to dress the bathroom up. |
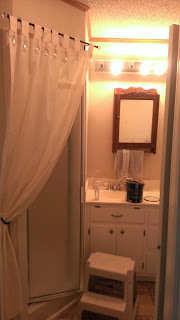 |
| This lovely vanity light bar also doubled as a year-round heater. |
 |
| I had already finished painting the brown cabinets white before I thought to take pictures. |
 |
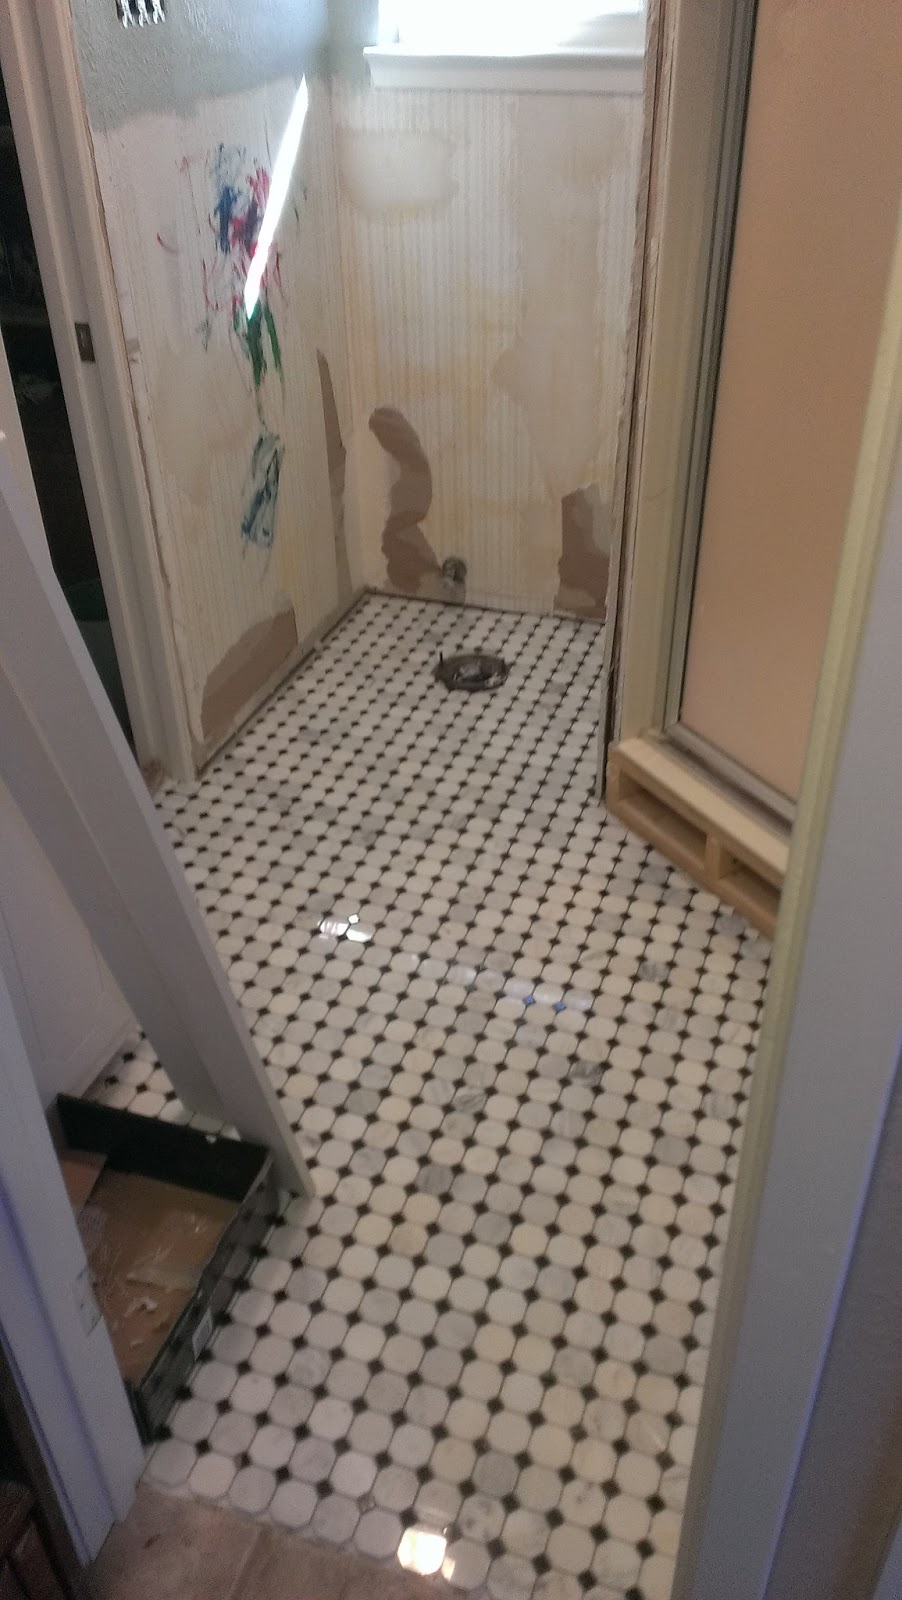
| After eight hours of scraping vinyl, it was mostly gone. This is pretty much the only picture I have of the floor in progress. You can also see some of the ginormous mess from scraping the popcorn ceilings. |
 |
| We let Kat paint on the wall behind the beadboard. She LOVED it! I love knowing that there is a time capsule of her artwork at the age of four hidden in our house. |
 |
| I painted a heart on the wall behind the mirror. Another fun time capsule that makes me smile. |
 |
| Floor laid and grouted. |
|
|
And now, the final product!!!
Because this bathroom is so small, it is very tough to get decent pictures inside it. This picture is taking from the hallway looking into the bathroom. I like having a curtain hanging on the shower door just to dress it up, but the beige no longer worked with the teal, white, and black color scheme. I found these curtains with grommets at Ross and snatched them up. I love the grommets and they have a bit of a burlap texture to them that contrasts nicely with the smooth marble and overall "girly" feeling of the paint color. I did a fake "roman shade" feeling on the one above the toilet to use up the extra length and provide an extra bit of privacy (this window faces the very front of our house).

I didn't want to use a standard toilet paper holder, so I used the extra curtain tieback as a holder. It's nice and easy to change the roll out. (Yes, I had already done this in the before pics, but look how much prettier it looks on this lovely white beadboard!) Also, you can see a close-up of the beadboard we used - we don't use the sheets because they are difficult to use in a small space; we always use the ones you have to piece together.

Would you believe I got this sink at the restore for $8? It's gorgeous and had a chip on the left edge. Since that edge is closest to the wall, we were totally cool with it at a savings of well over $100. The cabinets used to be brown; I just painted them white. I also spraypainted the old handles with my favorite satin nickel spray paint to save money on buying new pulls. I did the same with the hinges so everything would match. We painted the kickplate at the floor black and added furniture legs to make the vanity feel more like a freestanding piece.
These wall hanging plaques were purchased about 15 years ago at a 99c only store. I never really had a place for them before, but once I painted in here, there were PERFECT on the left side of the sink.

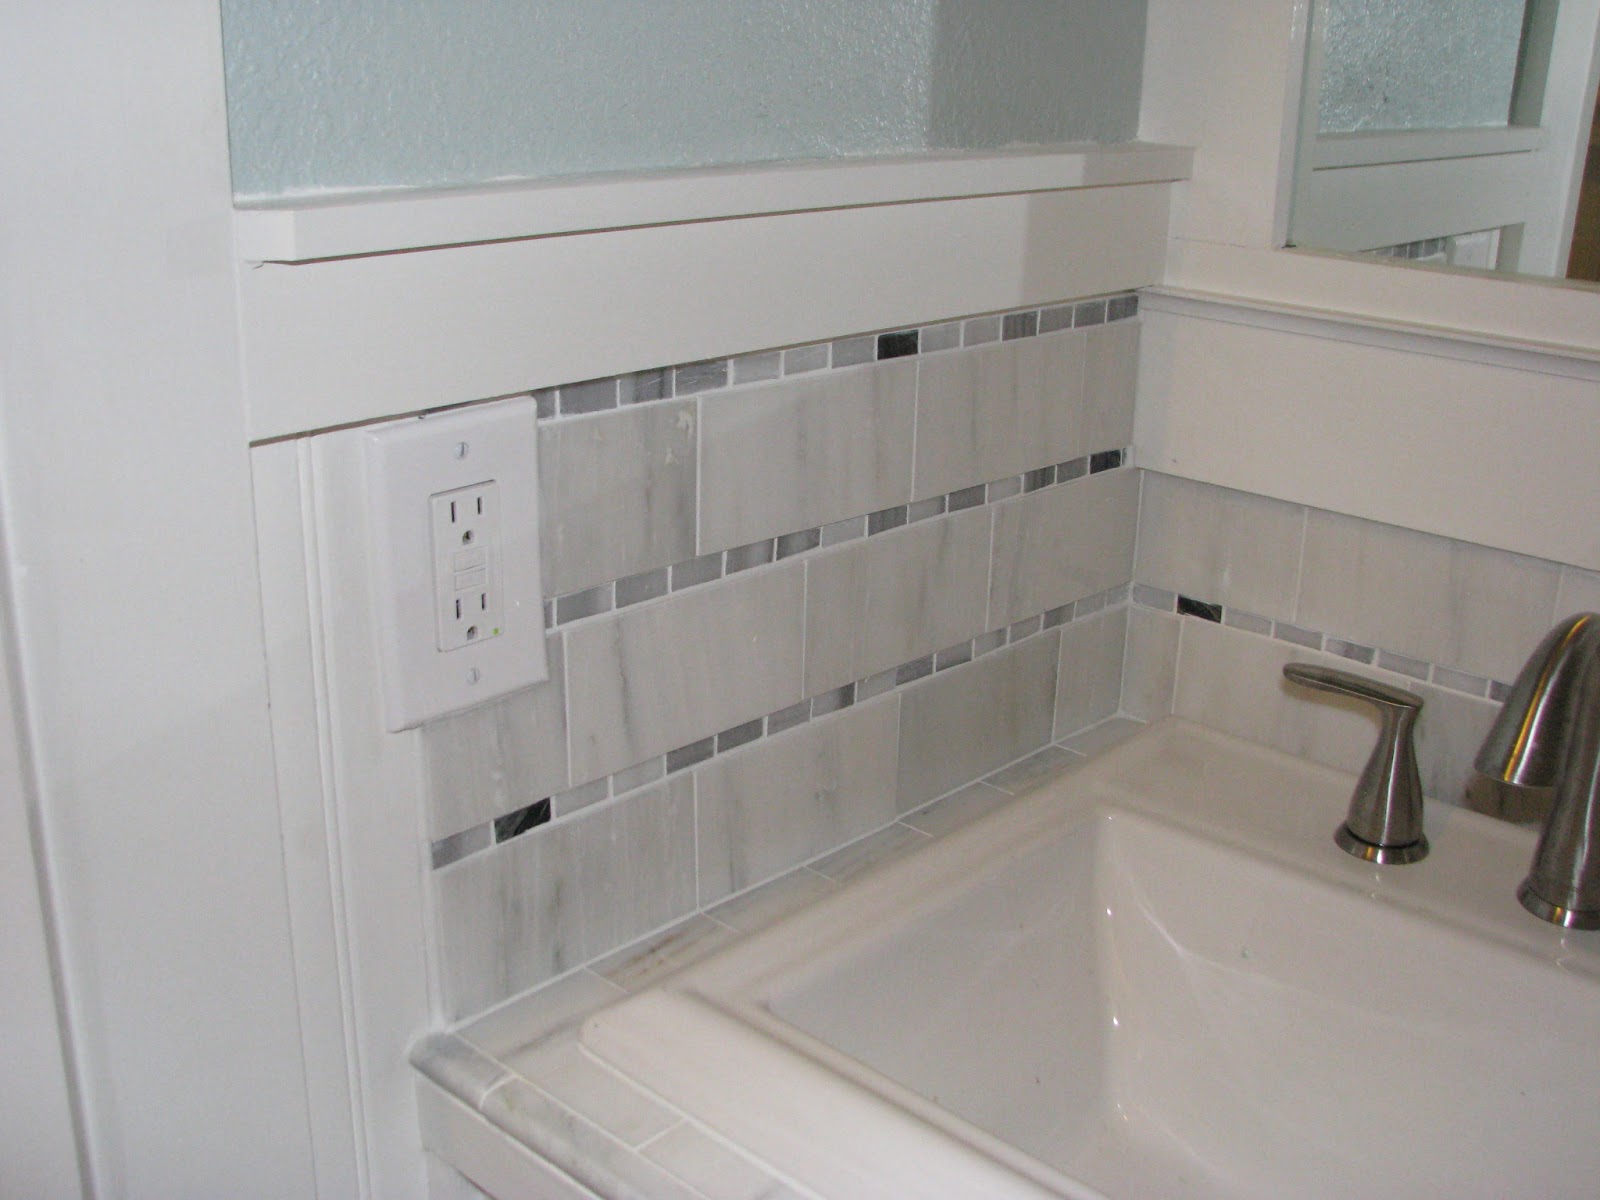
This is a close-up of the tile work that we did on the sink. The mosaic tiles between the larger marble ones were cut off of a larger mosaic tile piece (it was supposed to be four rows tall, but I wanted just a bit of an accent to separate the white of the marble tiles so I cut them into single rows). It also saved us some money since the white tiles were a lot cheaper than the mosaic tiles. We had to buy about 20 boxes of marble tiles to be able to go through them all and find enough tiles with matching veins and colors. It was totally worth it though - all of ours have veins running the same direction and have subtle visual interest. The front edge of the sink was done with a pencil tile. You are supposed to use it as an accent on the wall, but we decided it would be the perfect way to finish off the front edge of the sink.
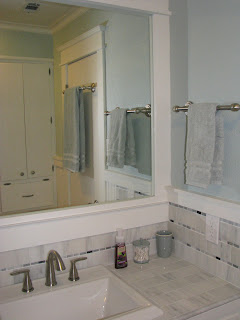
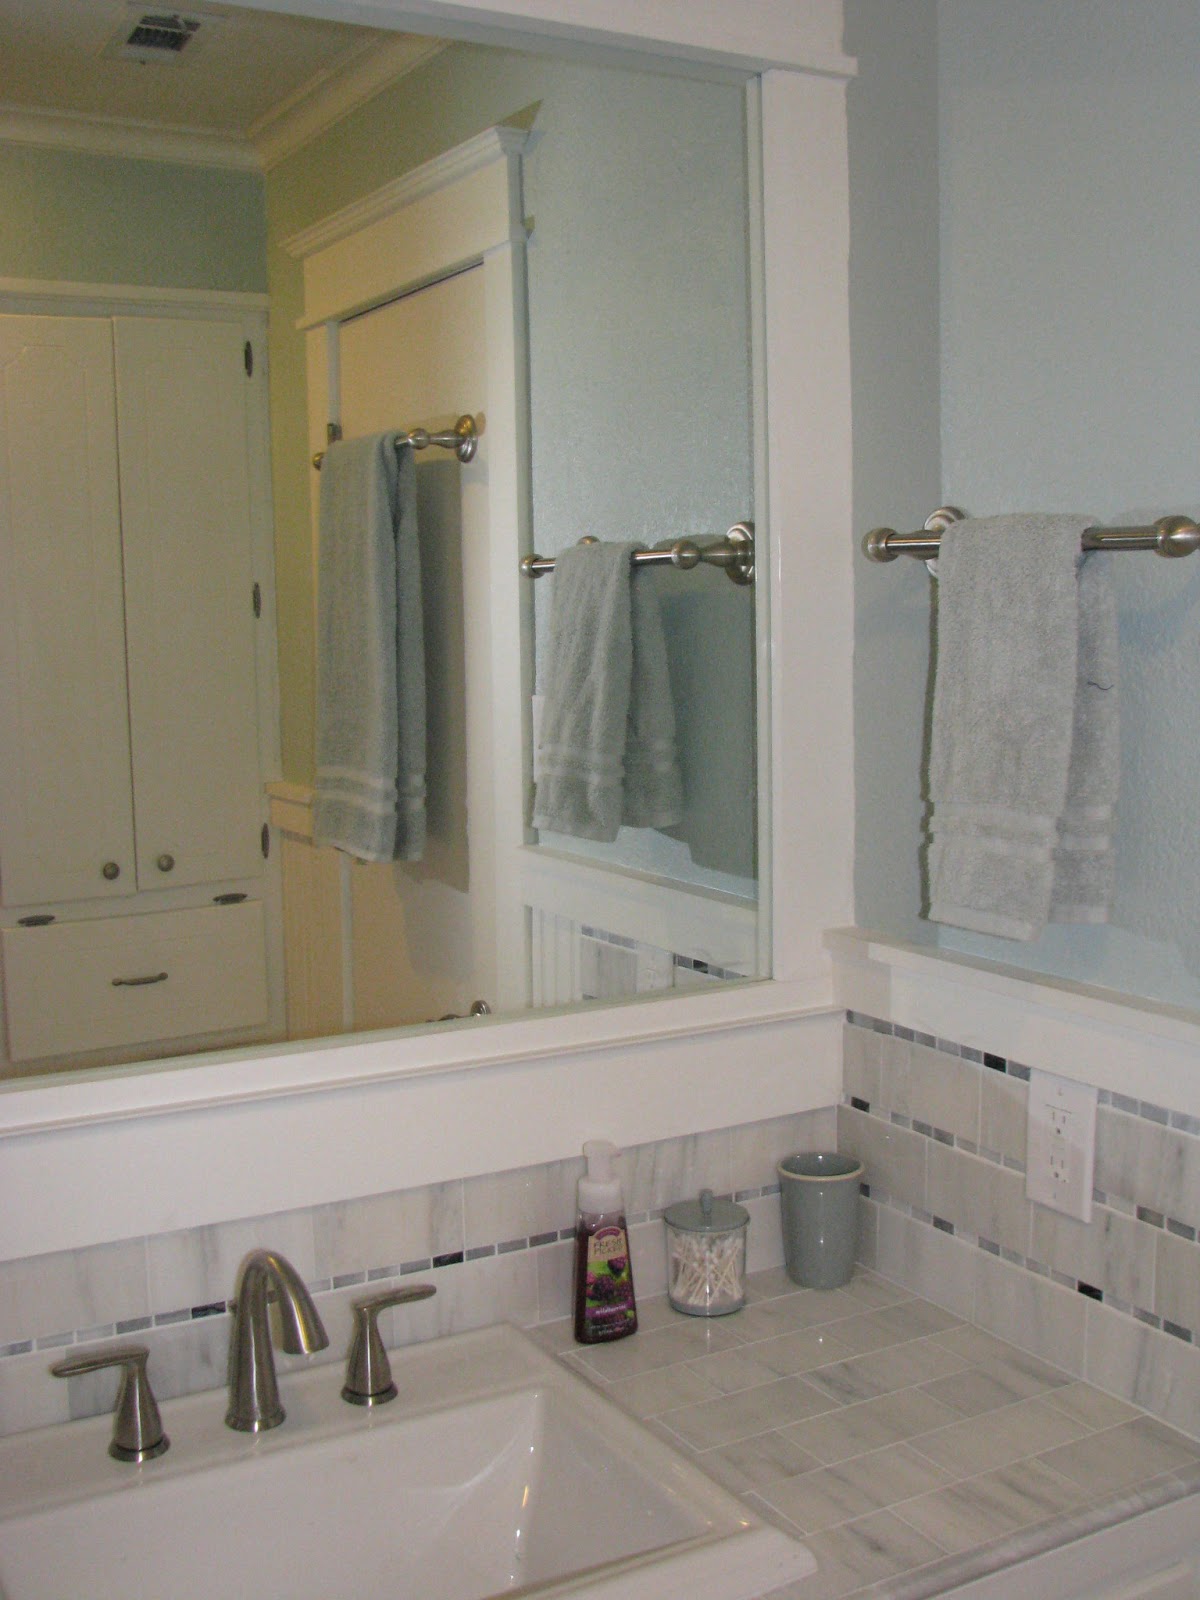
We originally planned to reuse the original mirror (that we found in the attic), but it broke about a week after we hung it. Thankfully we hadn't famed it out yet, but a new one was going to cost
at least $100. We bought one that was pretty close in size at the
Restore for about $20 because we were planning to frame it out anyway and it hid the fact that the new mirror was a bit smaller. In the reflection you can see the linen closet. It has the same treatment at the bottom as the sink so it looks more like a freestanding piece of furniture. The two towel racks were from the ReStore here in Waco and were only $4 each. Because the bathroom is so small and I didn't want the toilet area to feel any tighter than it already was, I decided to hang the bath towel on the back of the door. Don't worry, we anchored it in so it is completely secure.

In this close-up of the window you can see the crown molding on the ceiling. We used a cove molding because I really dig the simplicity of it. I know it's hard to tell, but the ceiling is now a lovely flat knock-down texture. Did I mention that we had to texture all the walls in here, too? We couldn't get all the old wallpaper off without pulling off chunks of drywall, so we had to texture over it.
I absolutely love the header trim on the door. As we get around to redoing the rest of the house, we are going to be redoing all the trim work to match this much simpler style. You can just see the edge of the crown molding on the ceiling, too. I love how simple it all it is and how much character it gives the bathroom.
So, there you have it. Every square inch of this bathroom was done by myself or my husband. We
know it was done right and we saved a lot doing it ourselves! We redid our entire guest bathroom for UNDER $1,000. I splurged on the floor tile and got really nice marble instead of ceramic because it's a small space and this is our forever home and frankly, I fell in love with the marble and my husband told me to get what I loved. I made up the cost difference by reusing the existing vanity and linen closet and buying accessories at Ross and the Restore. The old vanity top was beige and had to go because it clashed with the whites; because the vanity is not a standard size, it would have easily cost us $700 or more to get a new one. That made the decision to use tiles on the sink area and buy a drop-in sink a no-brainer. So we made sure to balance out our splurges with savings everywhere we could. Everyone loves the bathroom and can't believe we did it ourselves.


